How I made it!
(Round Things)
Adobe Photoshop CC 2017 Splash Screen artwork tutorial.
- Open Photoshop! :)
- Open photo you like, I use a photo of the mountains.
- Go to: Image menu > image size (uncheck constrain proportions), it must a square image (I used 4000x4000 px)
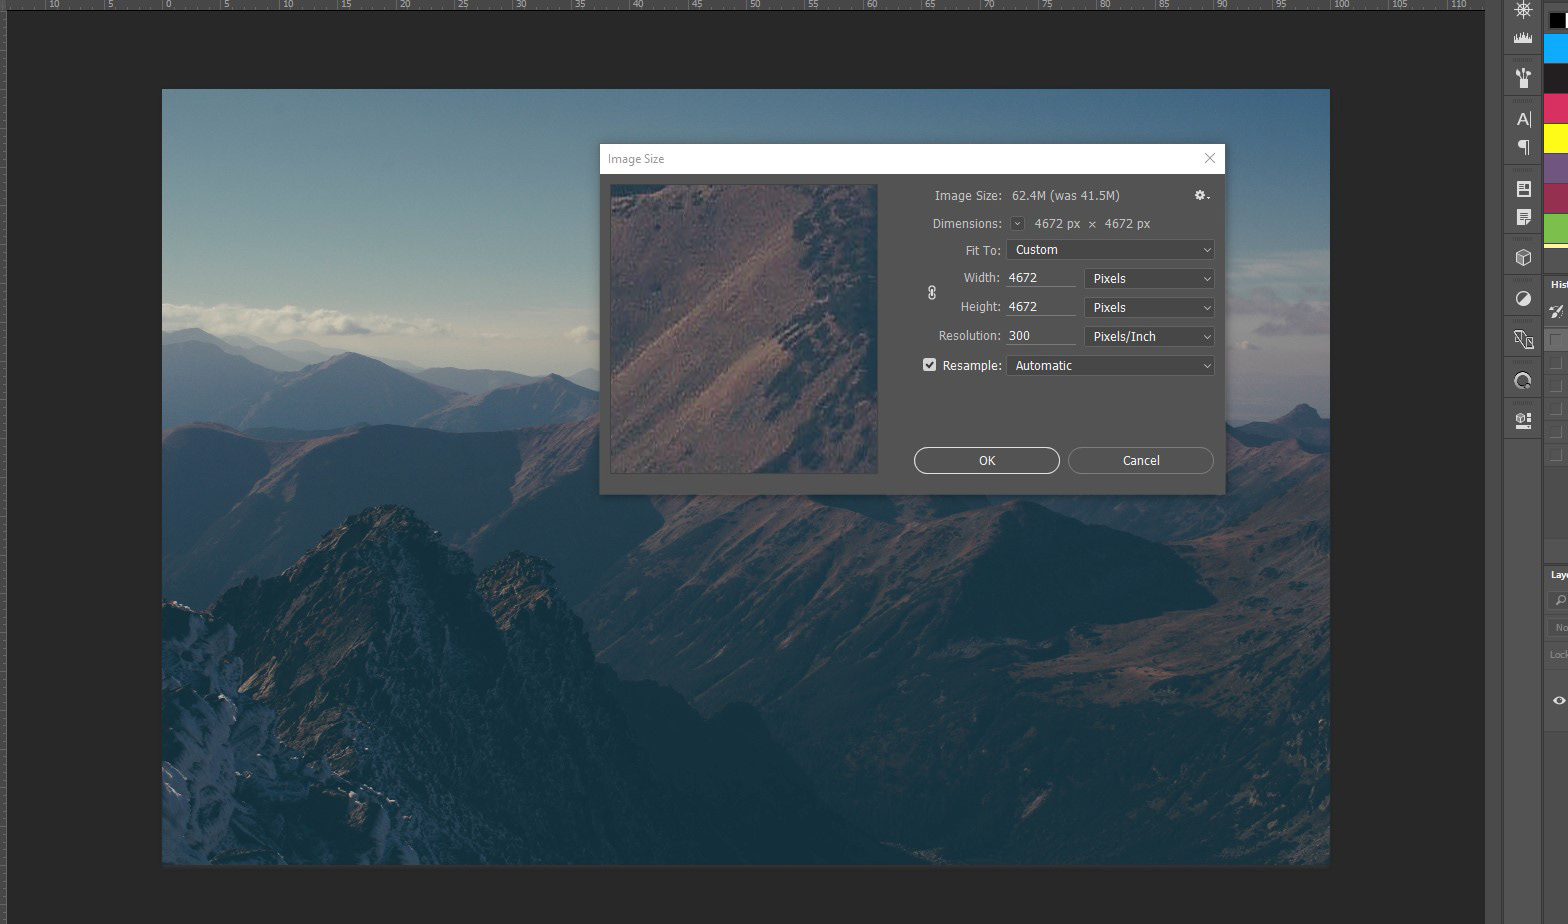
- Sometimes you will need to turn the photo upside down (not the case with this photo).
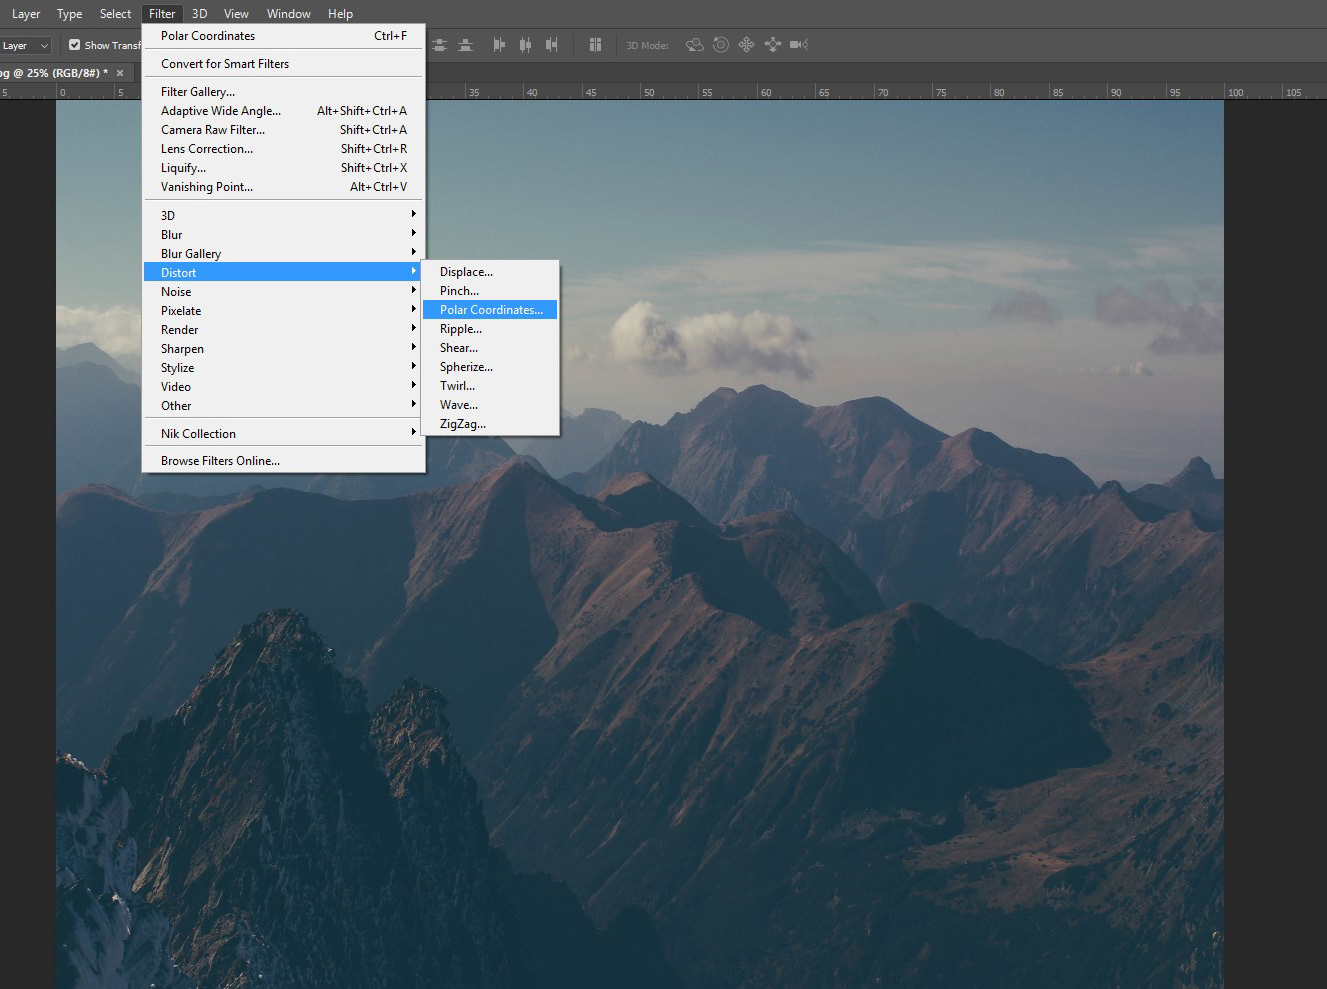
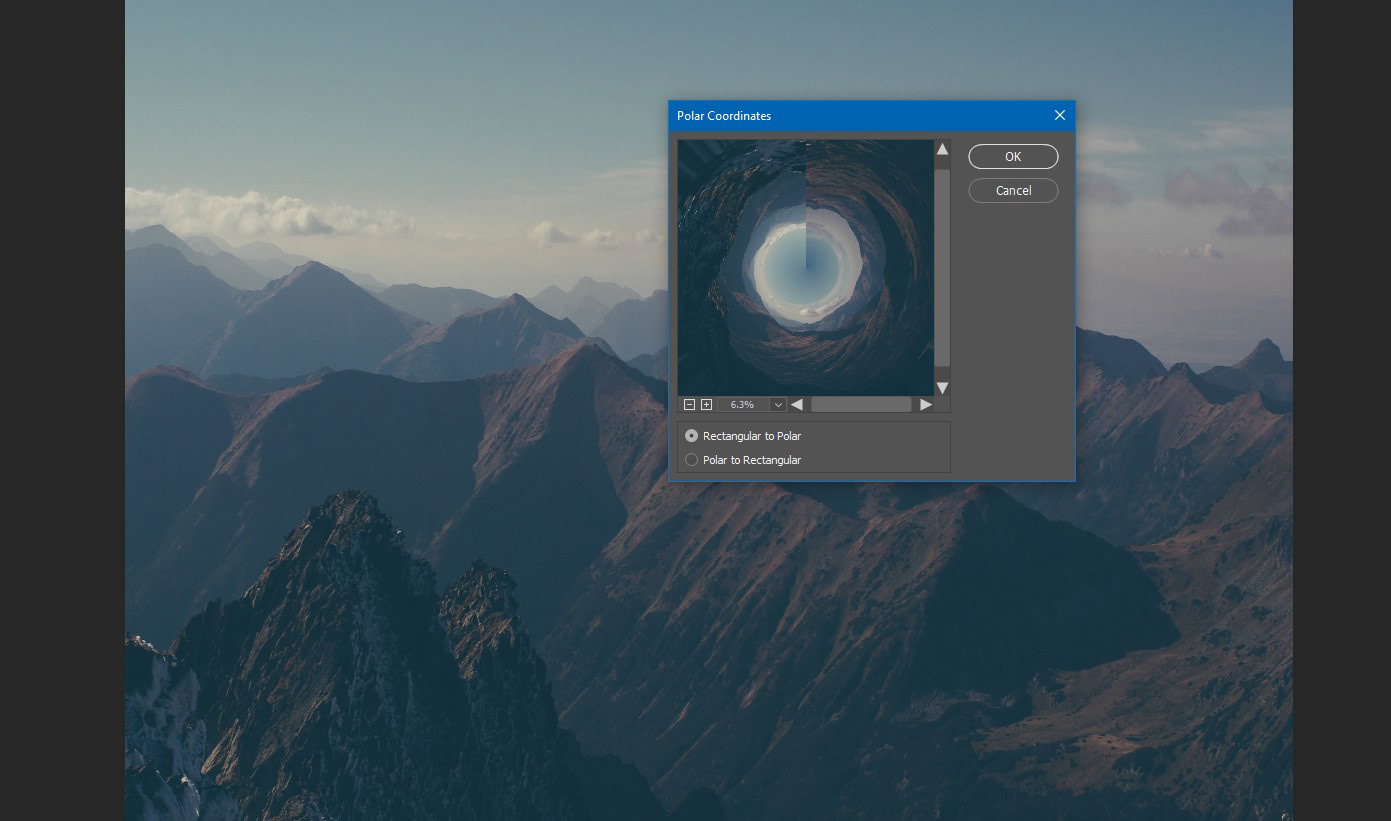
- then Filter > Distort > Polar Coordinates > Rectangle to Polar.
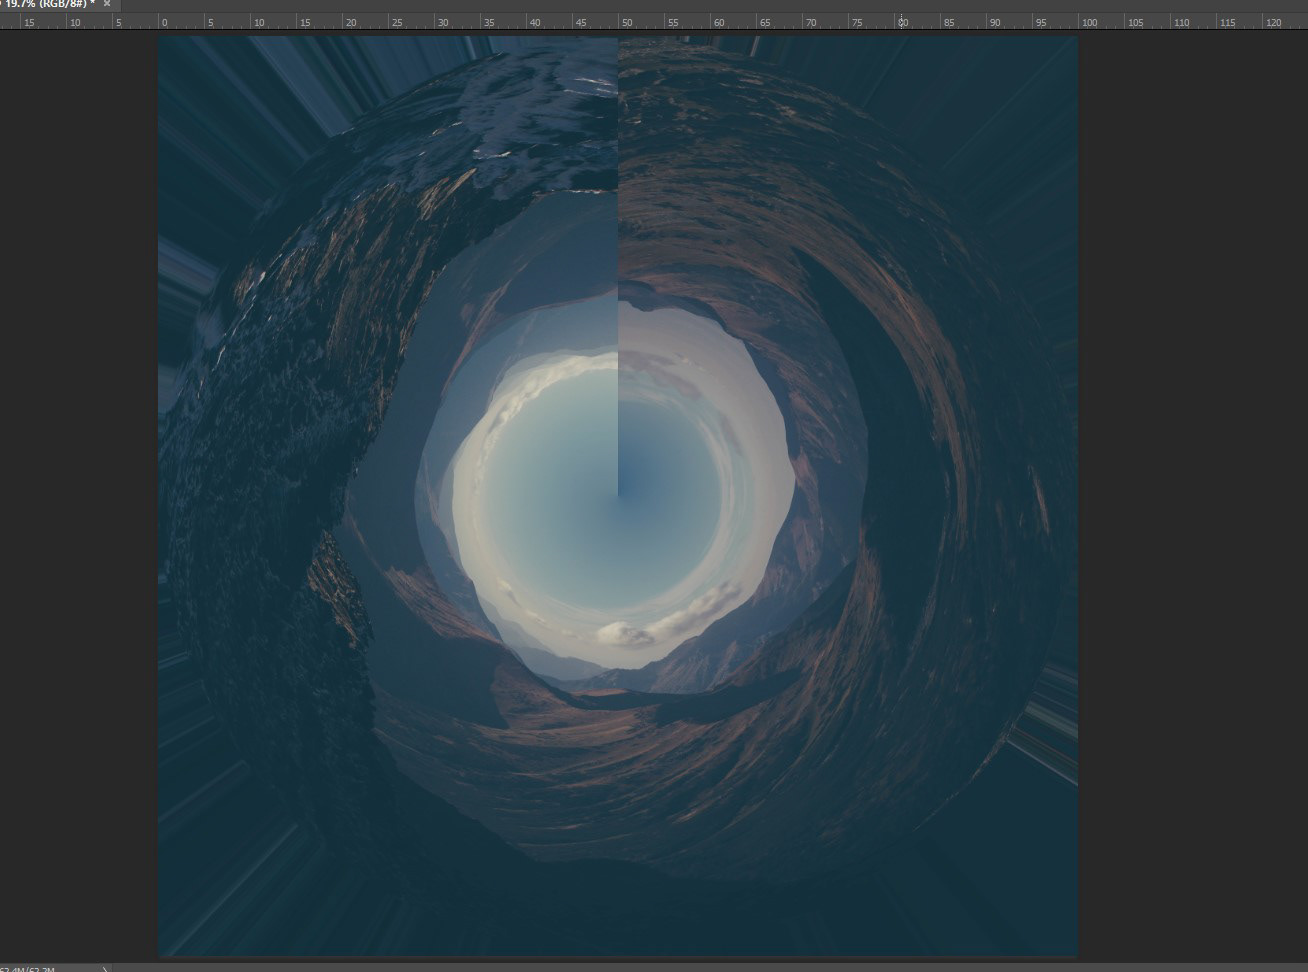
- using the Healing Brush tool to clean up any lines after using the Polar Coordinates.

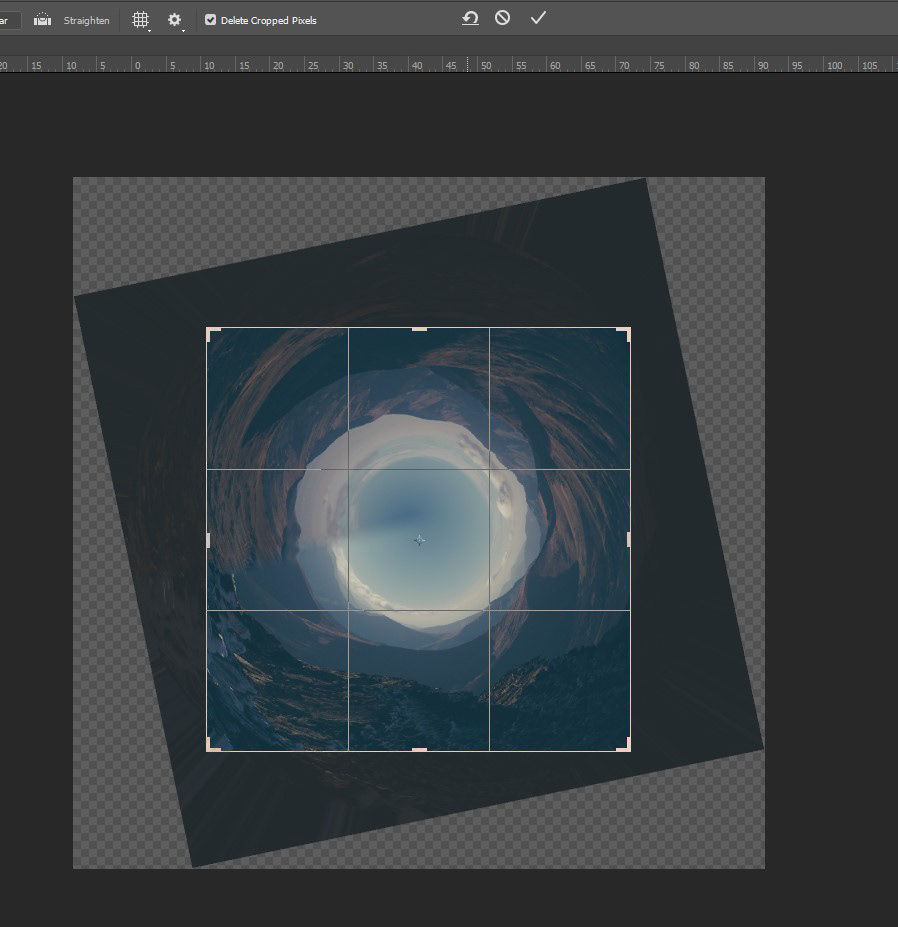
- Then I crop it the way I like it.
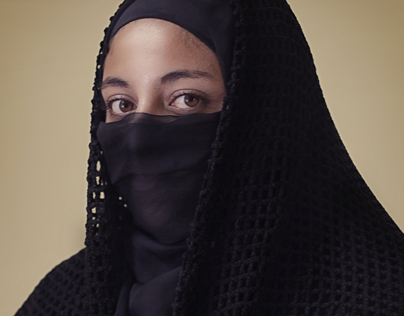
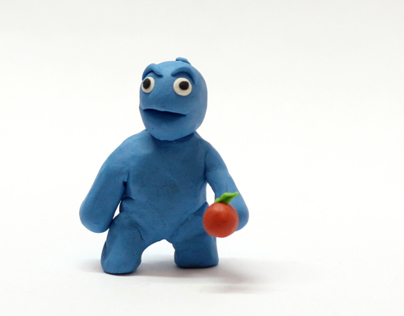
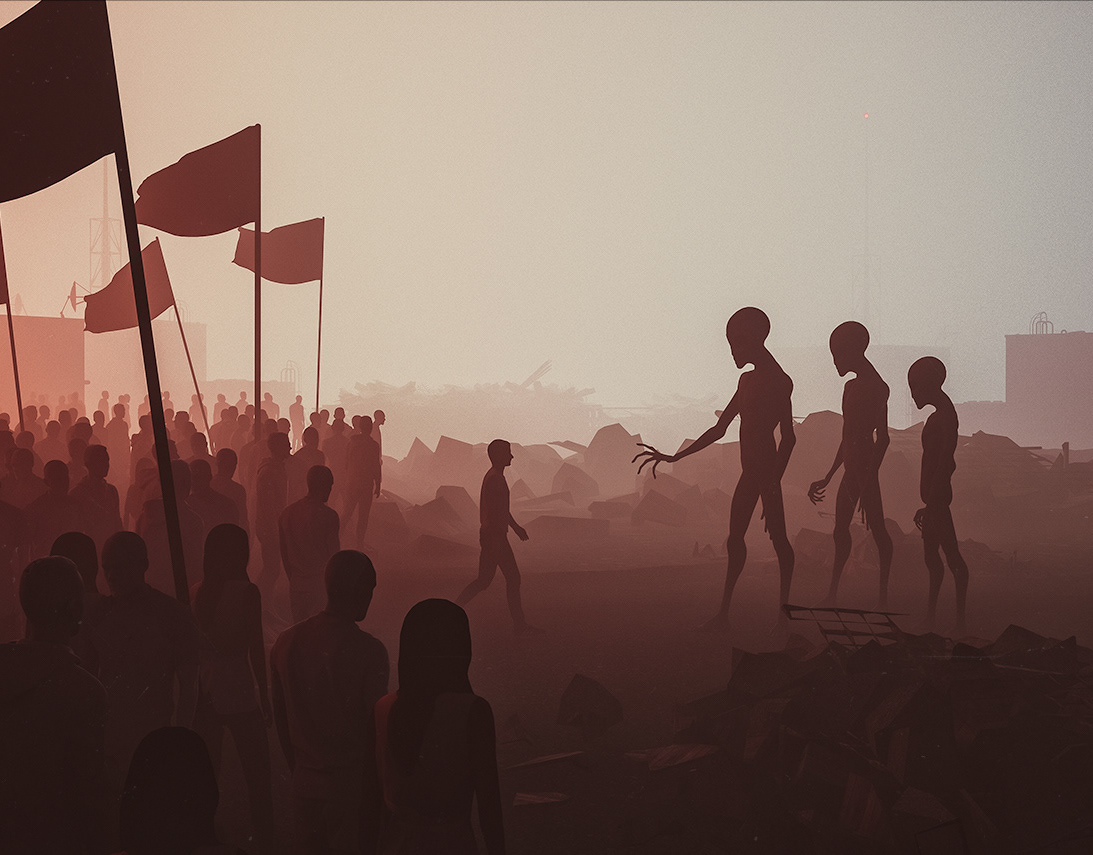
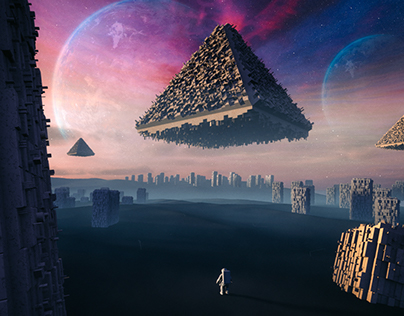
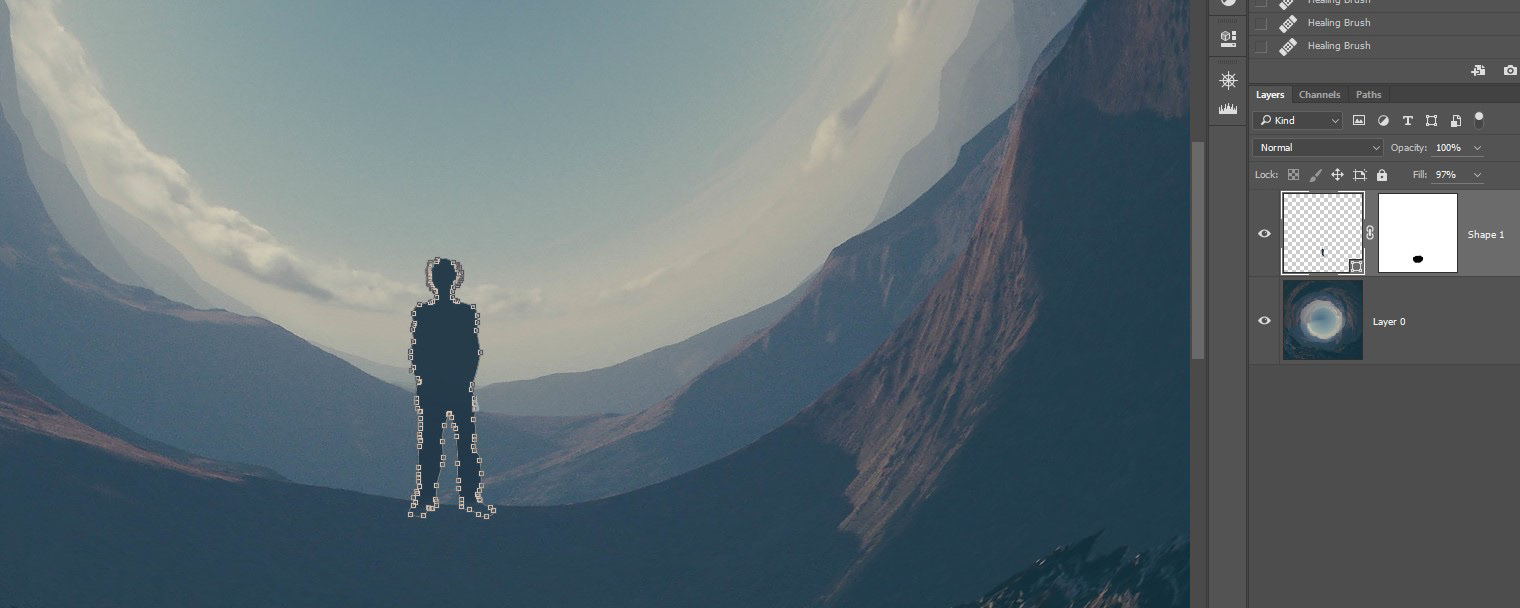
- finalize with some adjustment layers and added the character to tell Something.
Tips:
1. you can use the lens correction filter to fix some error and for more special effects.
2. use the Liquify filter for to get more effects.
3. clone tool work also well for fix some errors / remove lines.
4. be creative, use Photoshop brushes like (Clouds, Smoke, shattering stuff, birds).
5. using smart layer is a good Idea for making a change later, but make sure the photo don't get fuzzy or lazy kind of bad effect!
6. use sharpen is a good idea if you feel the photo blurry.
7. filter > distort > pinch. for more depth.
PS: I'm only posting that to give you the just the idea, play with it make your own, do whatever you like do some mixed styles, do more photomanipulation, do some drawing mixed media, whatever you like.
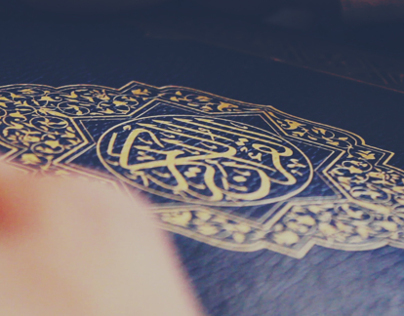
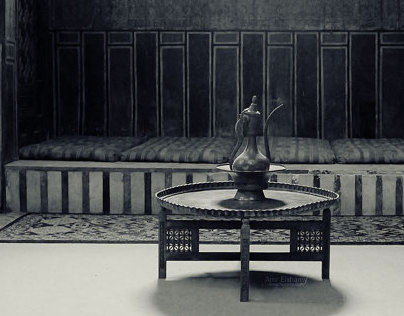
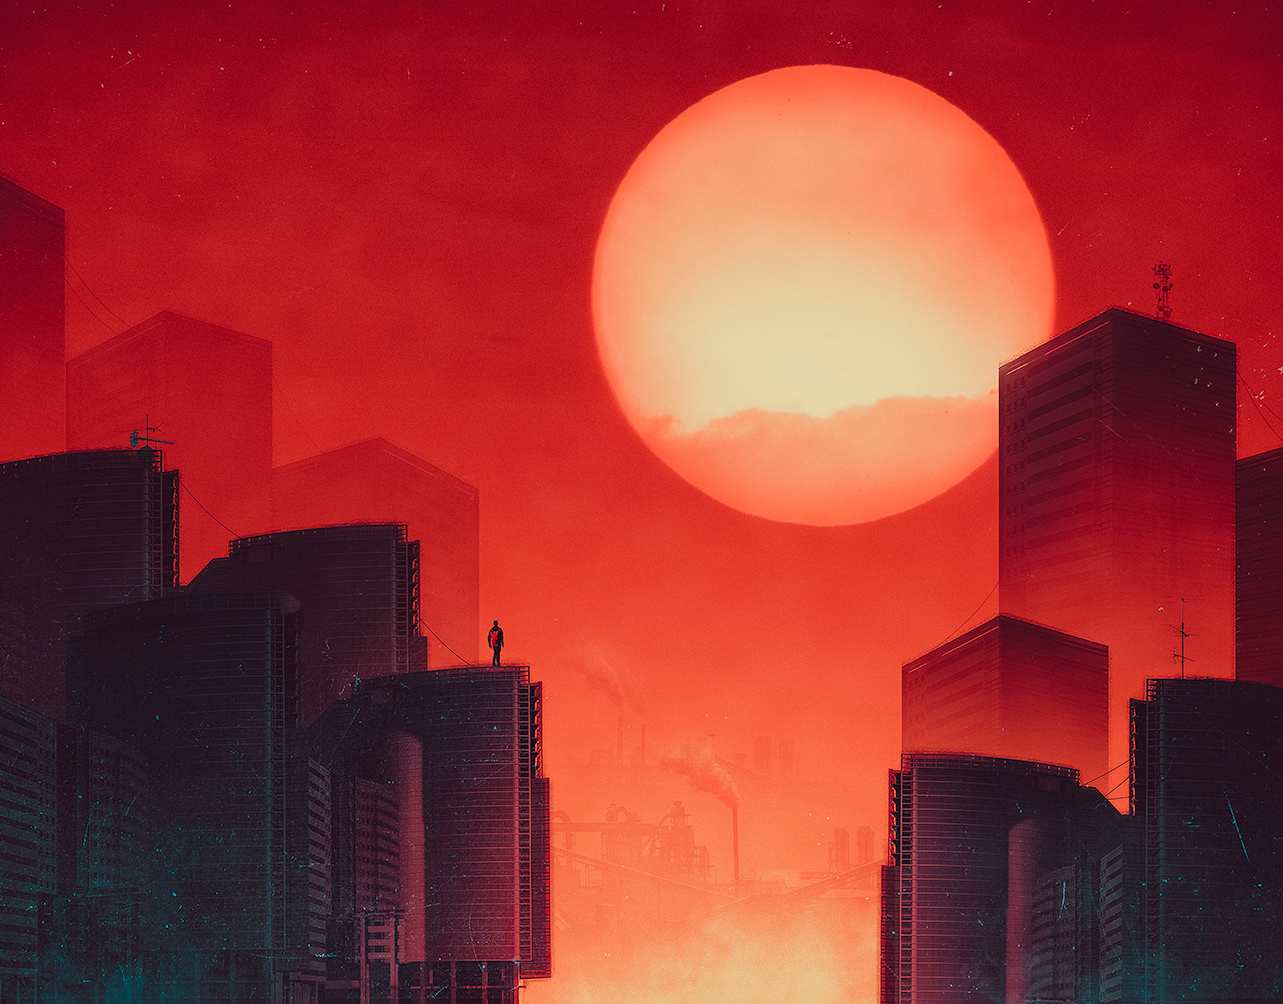
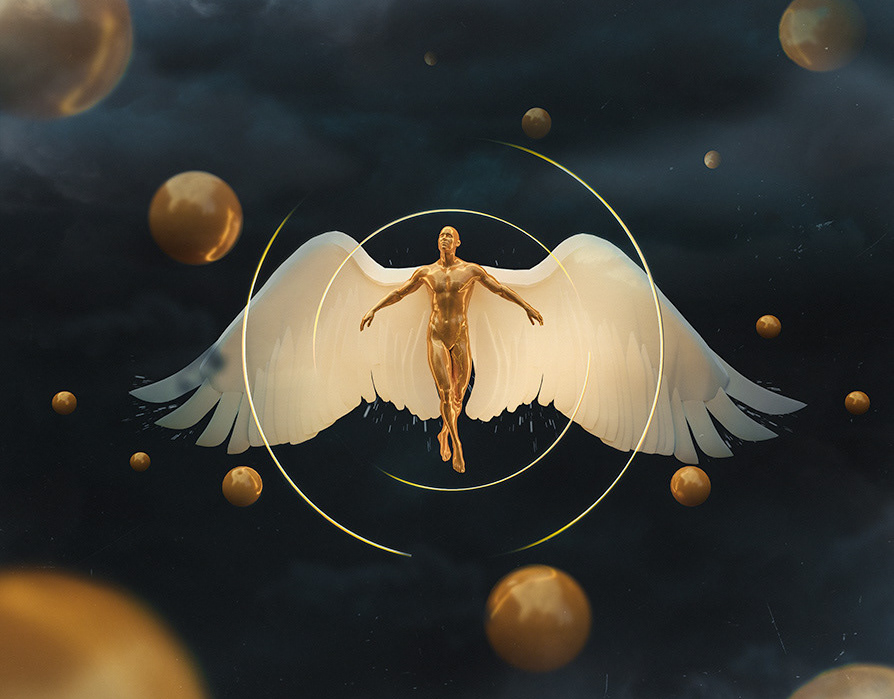
here what I have done with this Effect!

Use this hashtag to show me and others what you have done #RoundThingsEffect
I hope you like my Idea, feel free to ask anything!
Thank yo so much!
Thank you for Watching!